7 Tips to Master Natural Light for Portrait Photography
Want to capture stunning portraits without relying on flash? You’re in the right place.
Natural light has a unique quality that’s difficult to replicate with artificial lighting. With the right techniques, you can create professional, dynamic portraits using only the light around you—whether you're shooting indoors or outdoors.
In this guide, you’ll learn seven essential tips to help you master natural light portrait photography. Whether you’re a beginner or an experienced photographer looking to improve your natural light skills, these techniques will help you take your portrait work to the next level.
Tip #1: Direct Sunlight
A lot of photographers avoid direct sunlight because it’s harsh. And yes—if you don’t know how to deal with it, it’ll definitely look harsh.
But here’s the thing: You can shoot in direct sun and get amazing results—you just have to be smart about how you use it.
I actually discovered this by accident. I was doing a morning photo shoot just before sunrise. I brought my flash and softbox like usual—but forgot my light stand.
It was just me and the model, so using flash was out. I had no choice but to work with natural light. That challenge forced me to get creative with the sun.
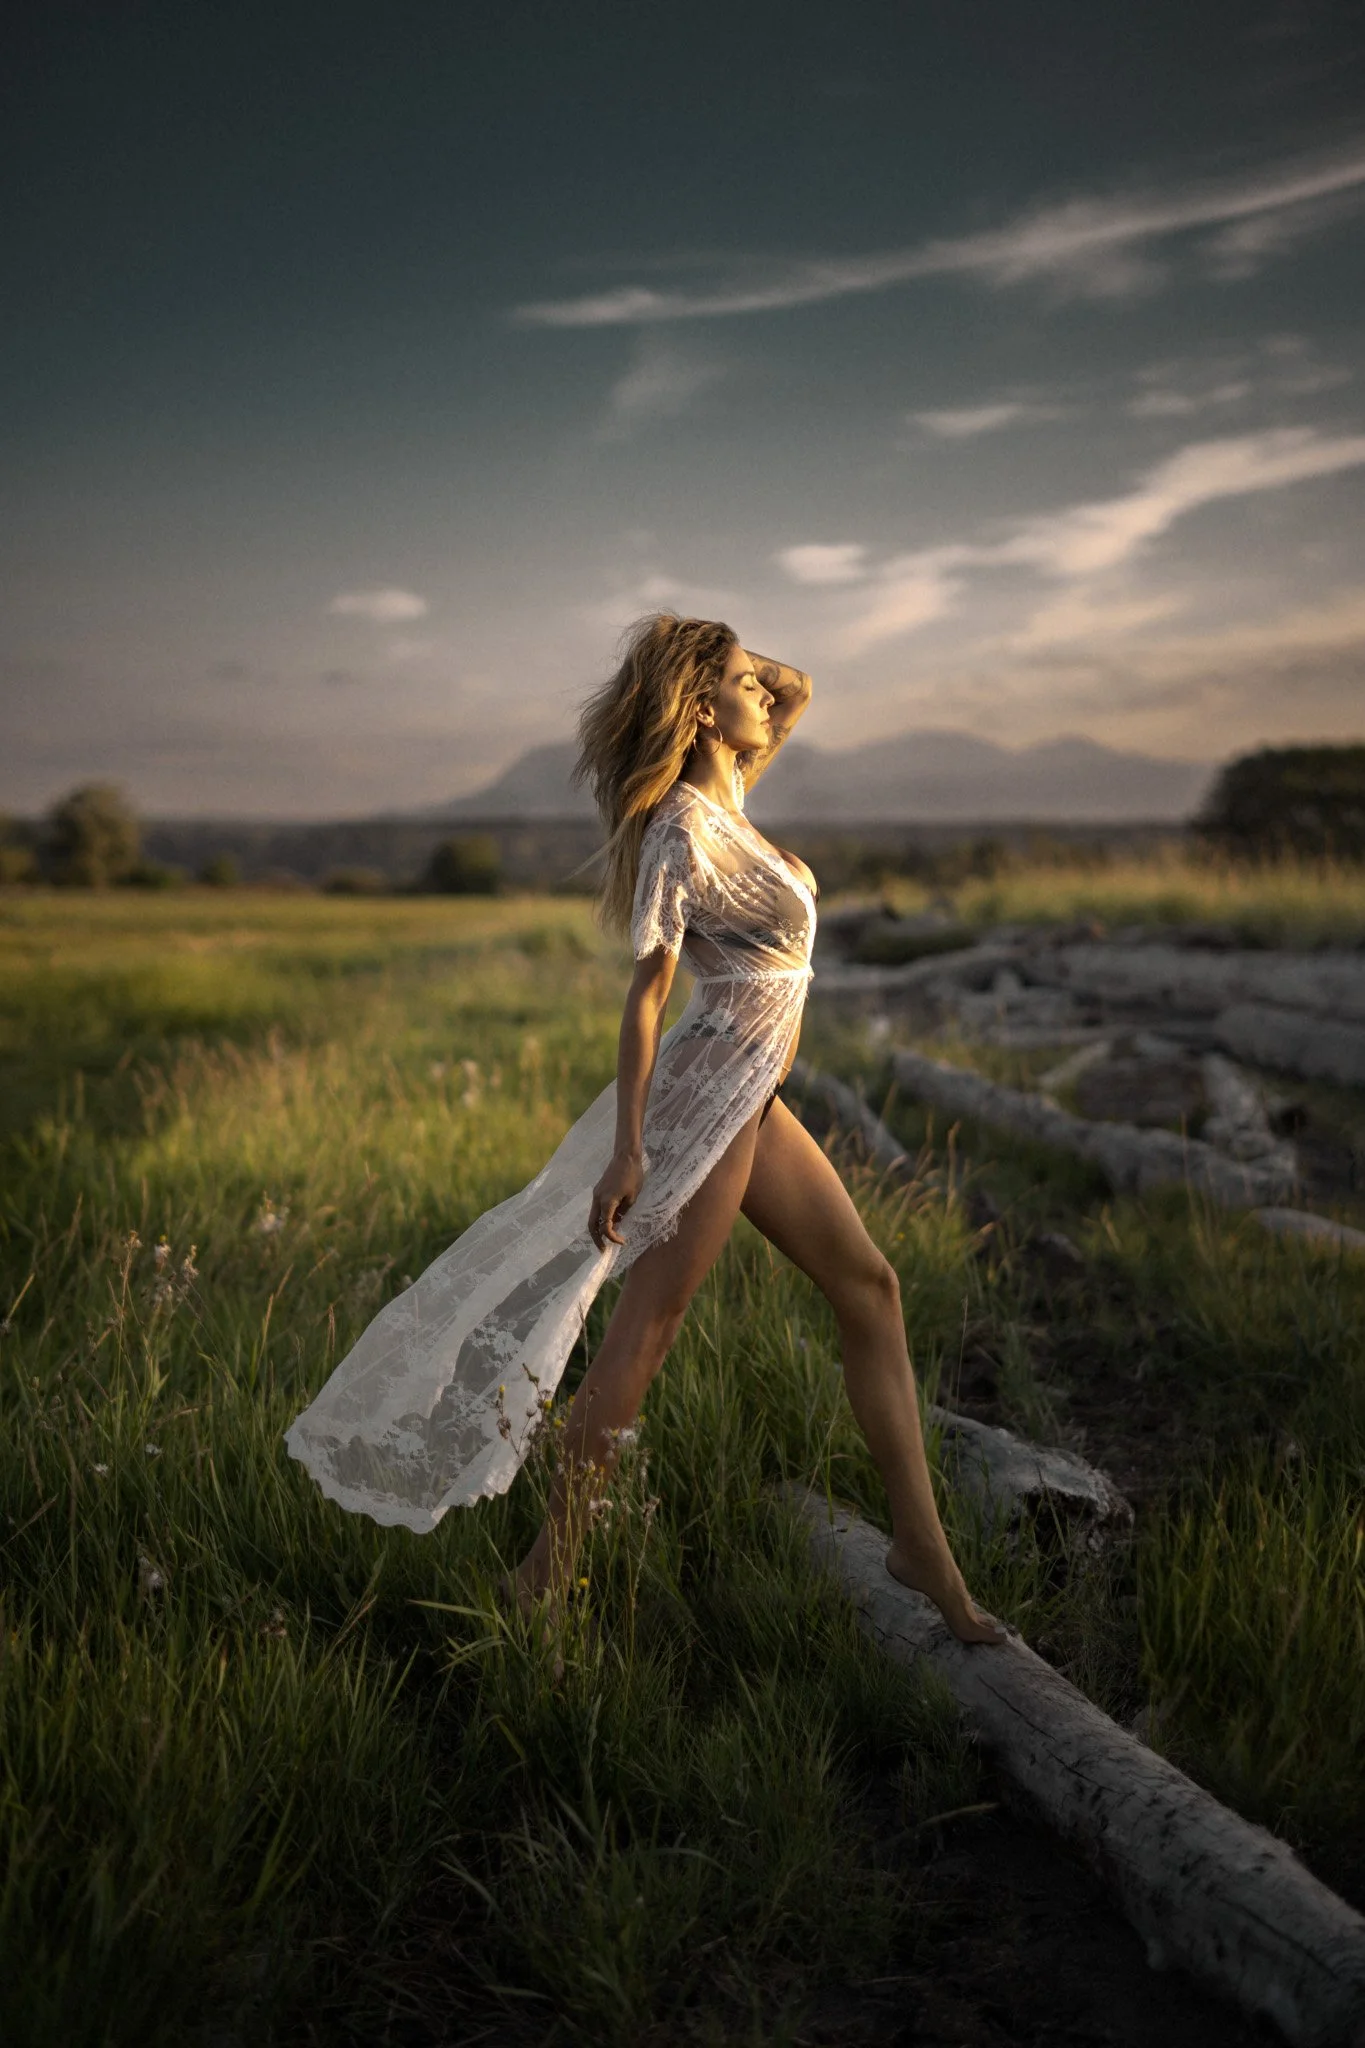
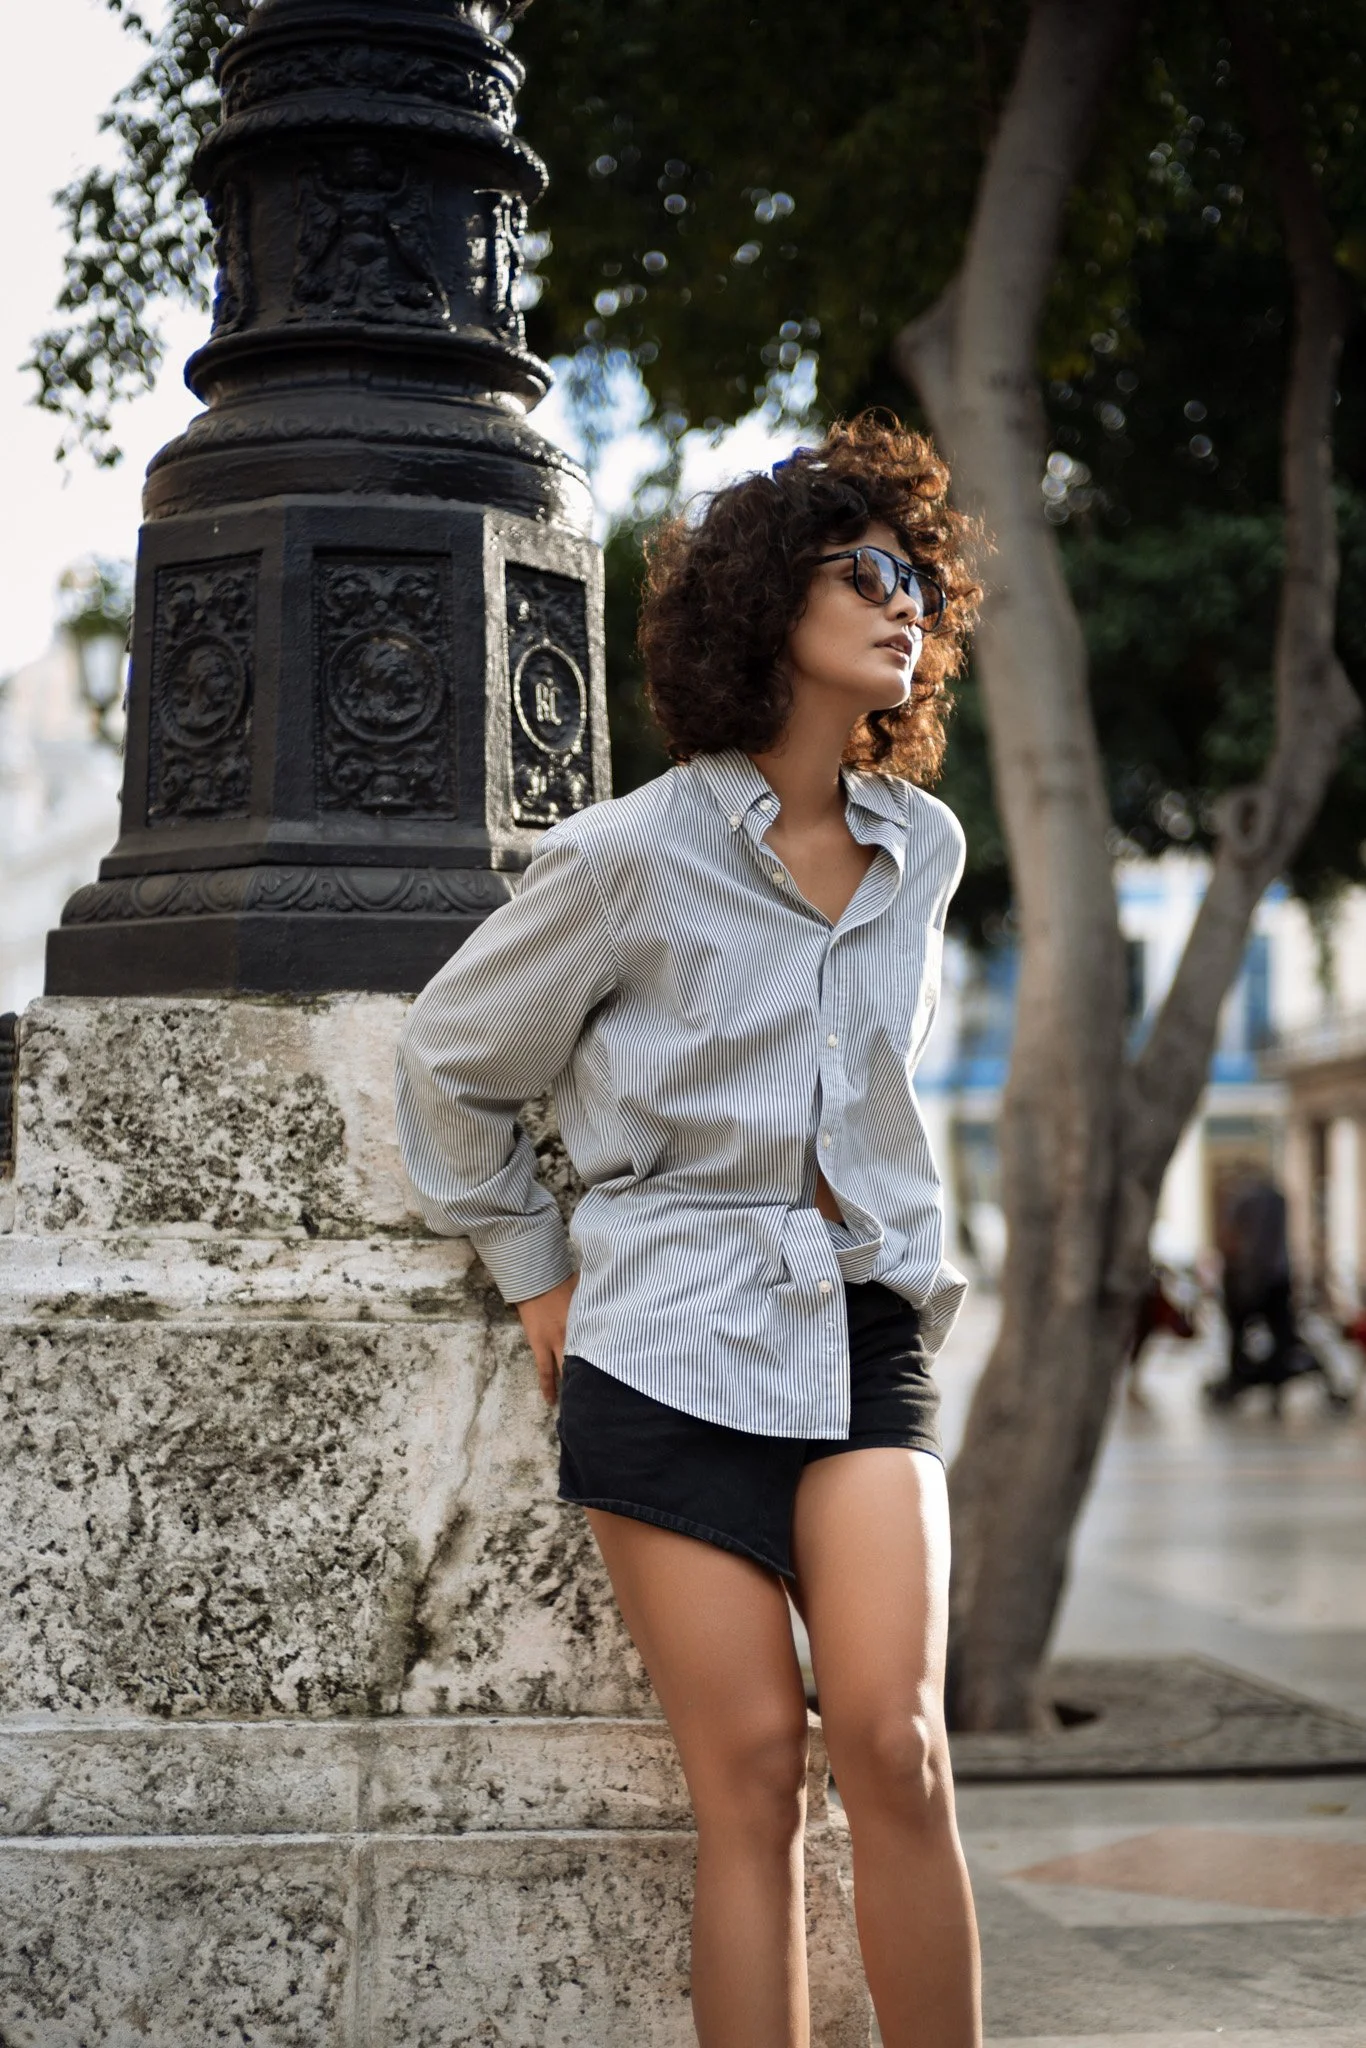
Shooting backlit was out of the question because the my model's face will just become too dark. My only option is using the sun as the key light. I start from a angle that the sun is 90 degree from the camera. When I look through my camera view finder, I was blow away. Not just I saw a stunning portrait almost 95% done straight out of camera. The lighting on my model's face is surprisingly good.
Why it worked? Two things:
Because the sun is from a lower angle the casting shadow around the eyes which is what we normally get when shooting during the mid day is gone. Also, because the model is facing the sun there is no casting shadows, the transition between light and shadow happens around the cheek instead of eye brows so the transition looks a lot smoother. This combined effect make the lighting a lot better.
Because there is only one light source which is the sun. The exposure on the subject will be same as the exposure on the background and foreground. You make one of them perfect, everything else will be perfect. This is very different from the backlighting situation when we have to use 2 light sources (flash and sun) to deal with both the subject and background. There is nothing require us to balance. So I got great lighting and great details all across the frame.
The result? One of my favorite portraits. It even won a local photo competition.
So don’t fear the sun—just avoid shooting when it’s directly overhead.
Golden hour is especially great. The sun’s low angle gives you drama and color—perfect for three-quarter or full-body shots.
Just remember: your shooting angles will be limited.
Tip #2: Use Bounced Light
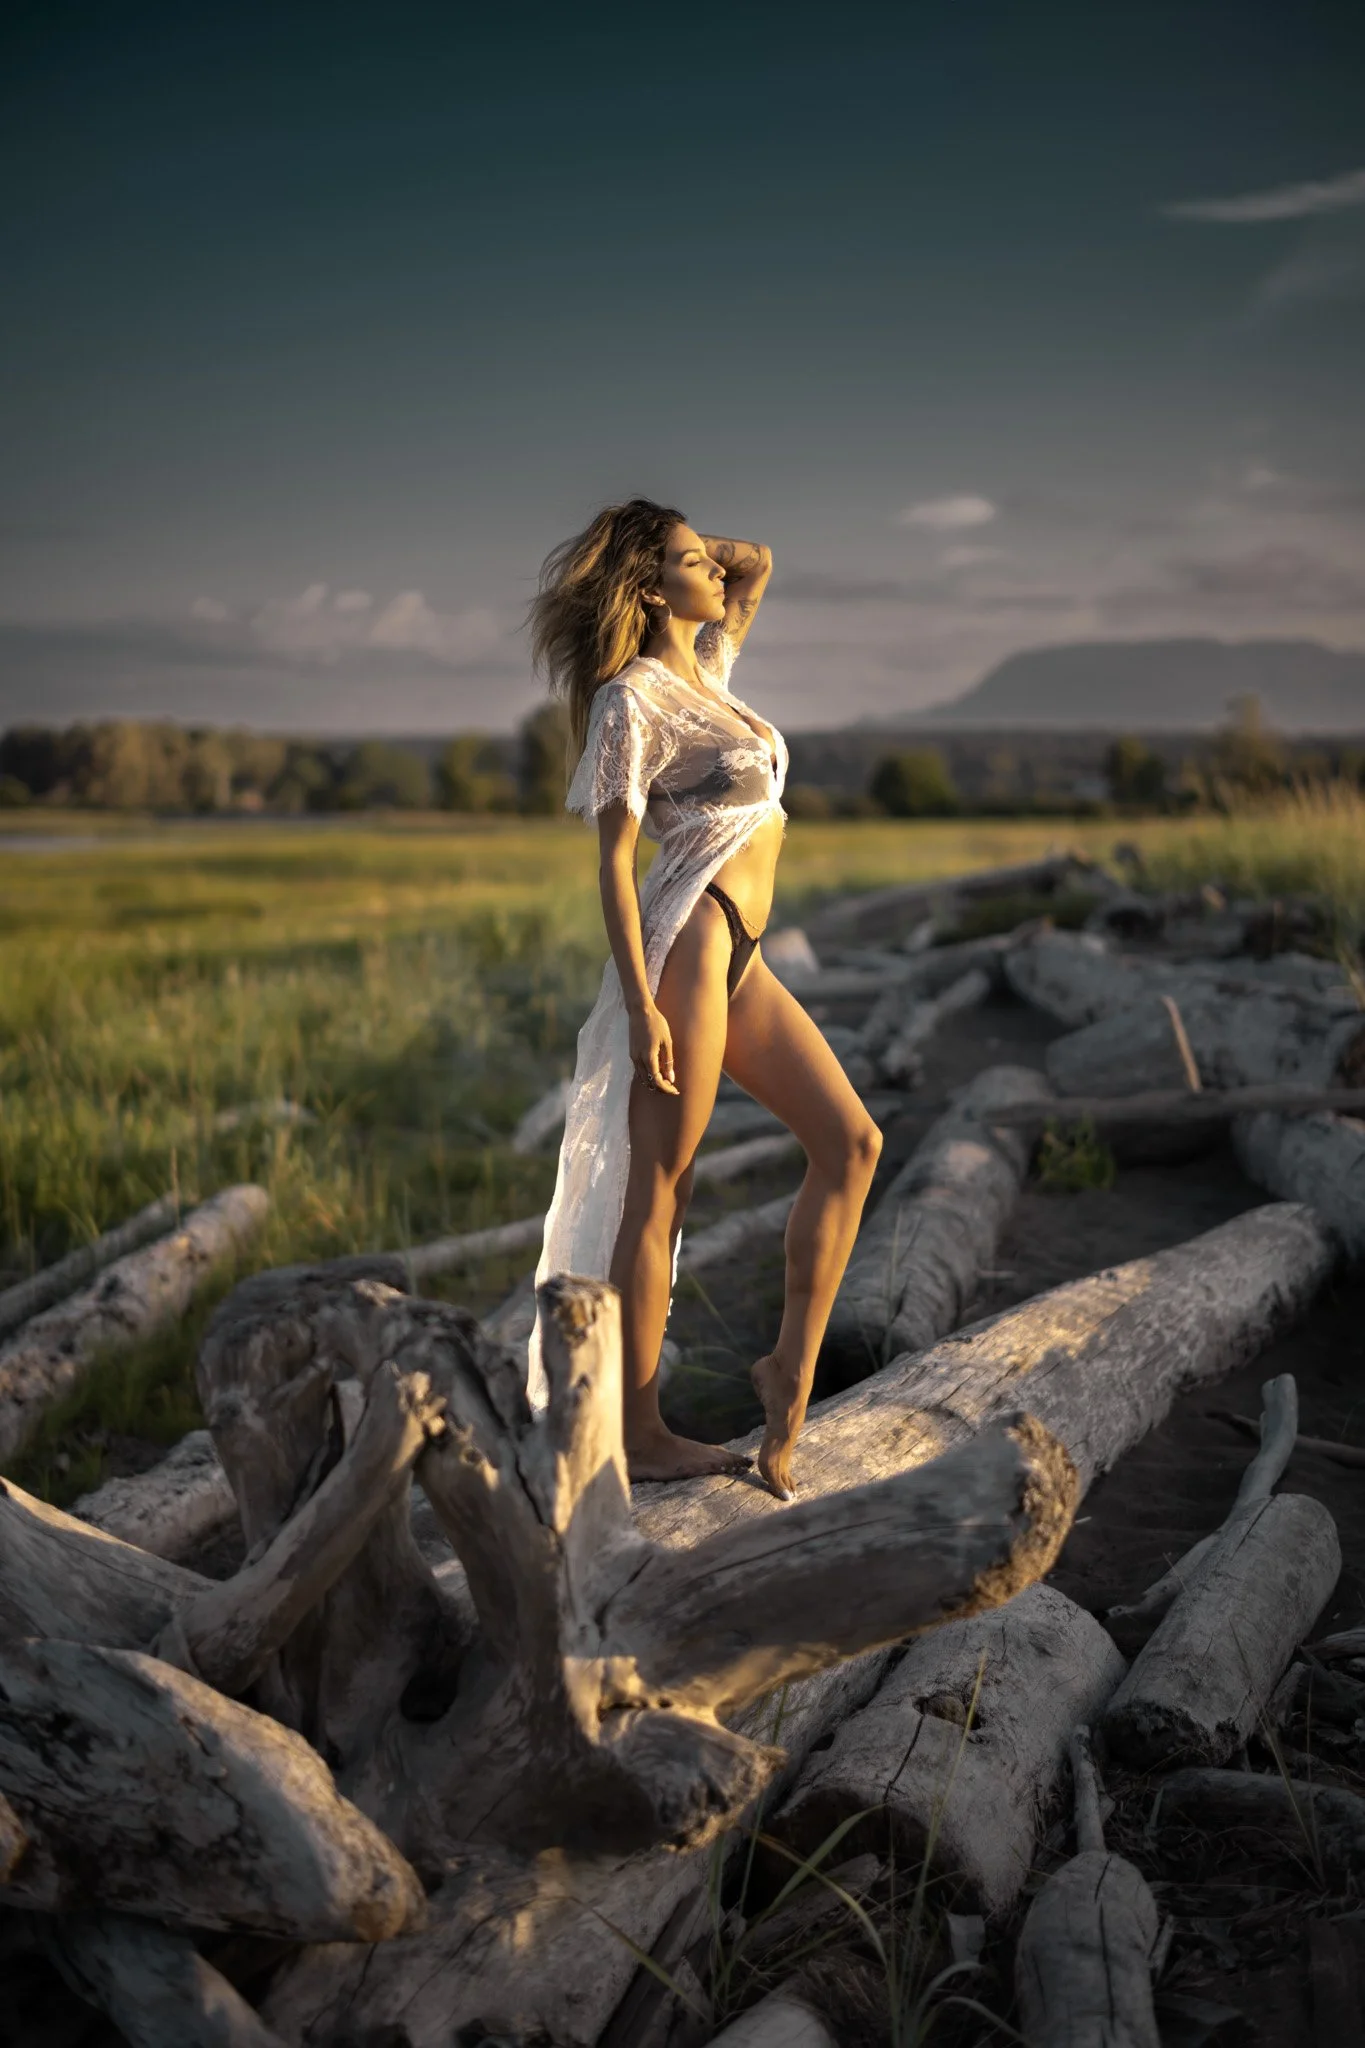
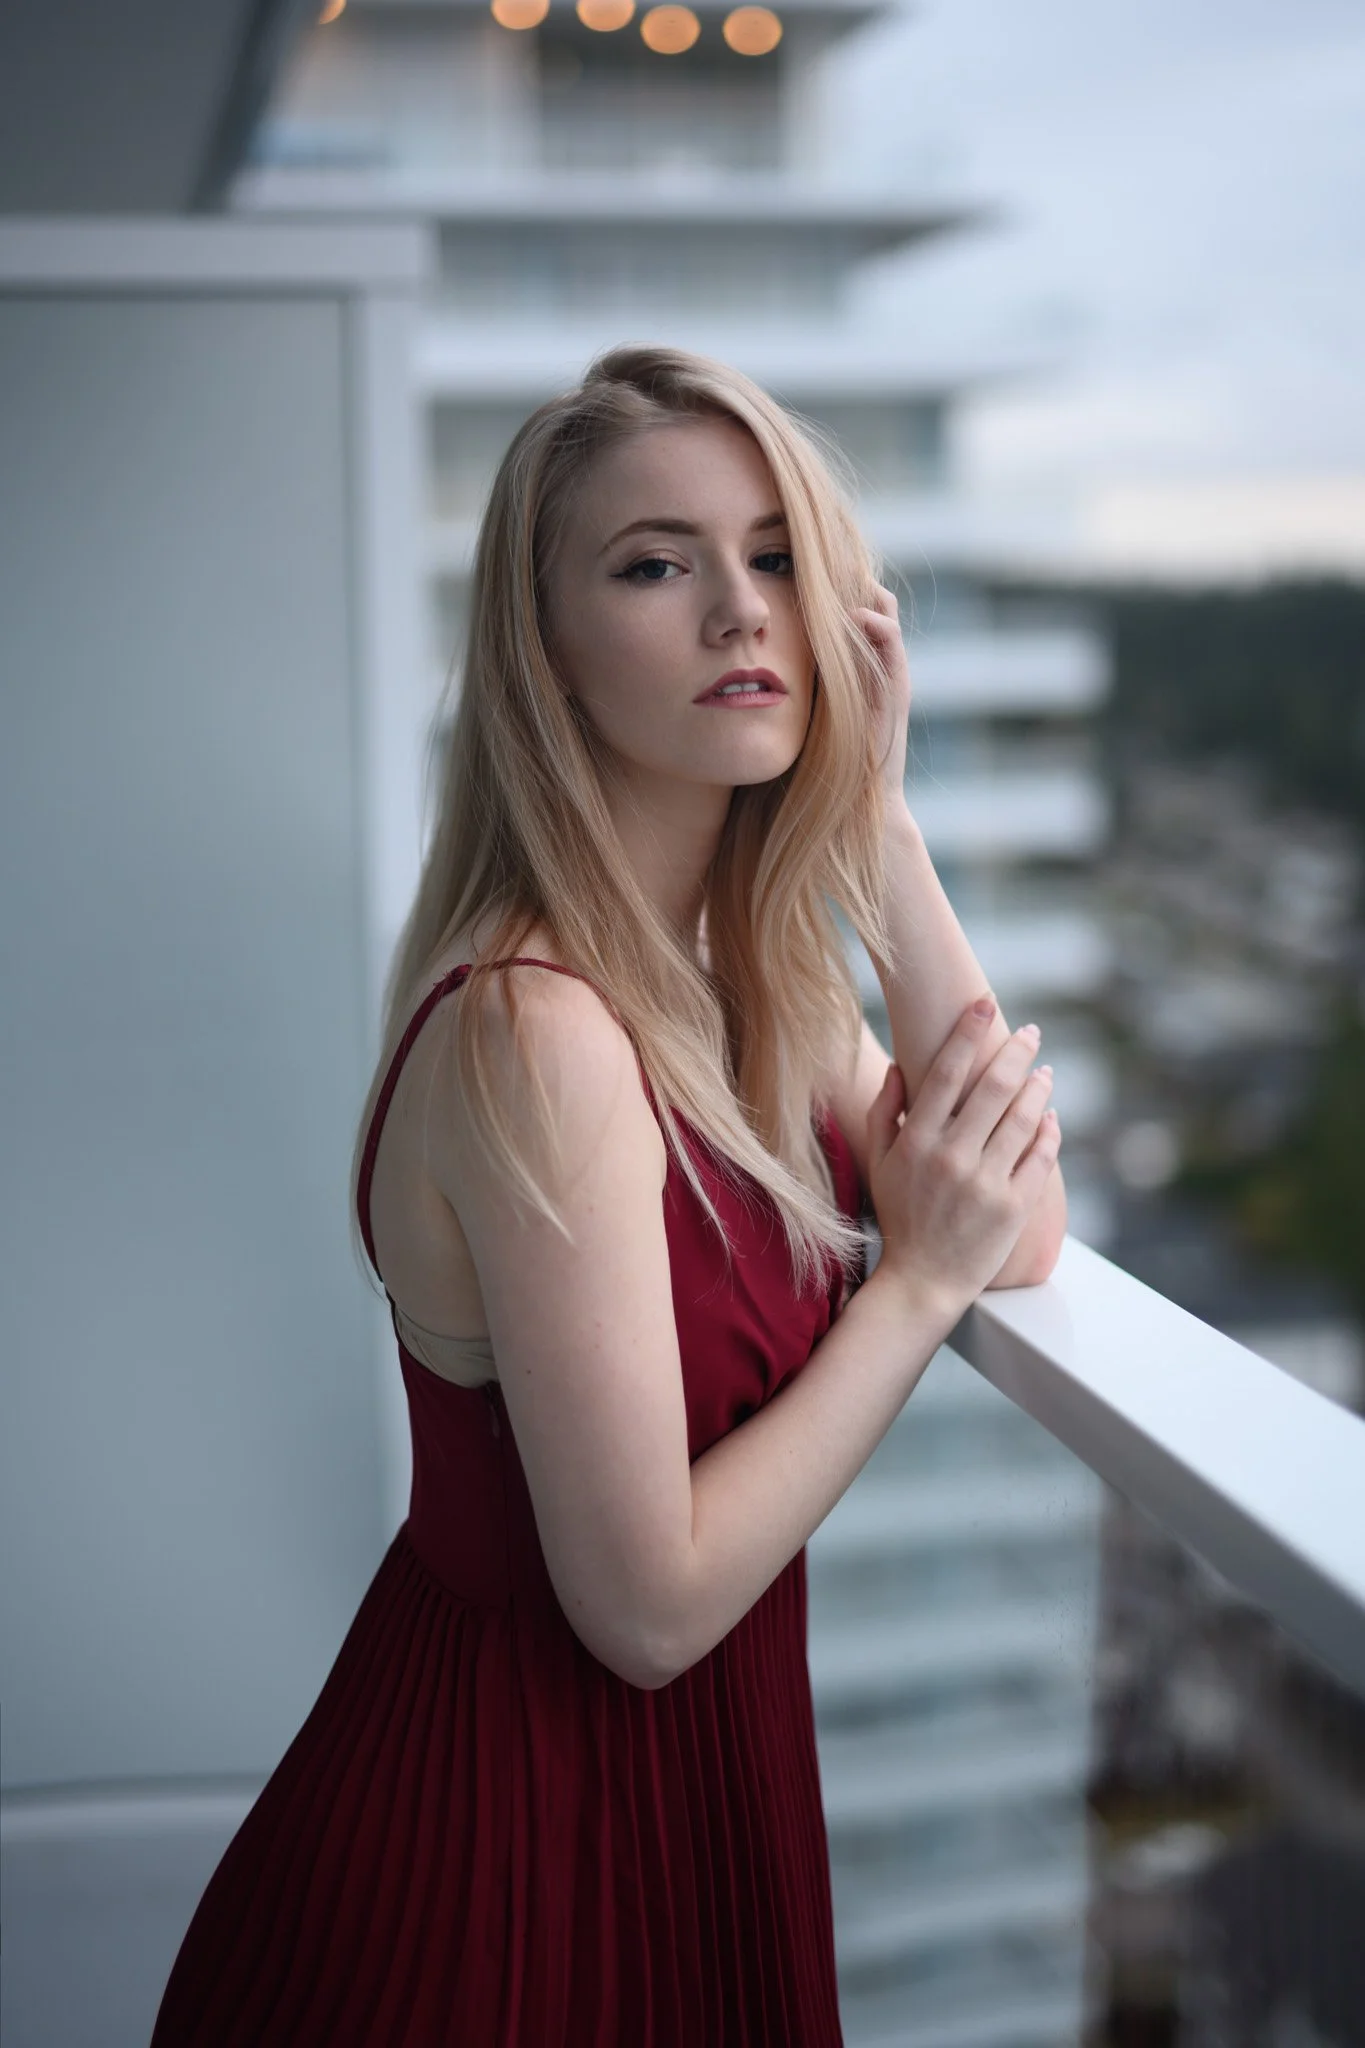
In the previous example, I used the direct sun as the key light. But can we use the sun as kicker light and still only shoot with natural light? Yes we can, but we need some bounced light. If you are taking photos in the city, this will be very easy for you. There are walls everywhere and almost all of them are great reflectors.
In this shot, I let the model to stand beside the wall. Not only the wall is bouncing the light back to her also the ground. So I have lots of fill light to balance the strong sun from the back. Imagine if there is no bounced light. The shadow will just be too dark.

Tip #3: Diffuse the Sun
What if there is nothing available for us to use to bounce the light? We'll we can diffuse the sun so we can bring the back light and fill light back in to balance. Trees are usually great for this. When the sun is partially shine on your subject, you will still have that back light effect but the light is just not too strong. This is exactly what we need when shooting back light. The trees work as diffuser to diffuse the sun but without turning the hard light to soft light. So we can still get that sunny day look.
Tip #4: Cloudy Days
Overcast skies give you soft, even light. Super forgiving. Great for close-ups and headshots.
You don’t have to worry about harsh shadows or squinting eyes. The light is diffuse and easy to work with.
But there is one issue, your photo might be too flat. Imagine the cloudy sky is a gigantic softbox. Everything under it is nice soft. In terms of toning, we'll have whole bunch of mid tone but lack of highlight and shadow. To add shadow, we can use negative fill. Under the shade or beside the wall will work perfectly for that purpose. It's amazing that an simple wall can be very multi functional for photography. Under the direct sun, they bounce light, under the shadow they cut the light. The wall simply cut the light from one side and only allow it come from other side. The result? We got more shadows.

How about the highlight? You can still do it but you need the sun because on a cloudy day there is nothing brighter than the sky which gives you the mid tone. When you let your subject to stand under the shade but right beside where the sunlight touch the ground, the shadow gives you the quality of cloudy day soft light, the bounced light from the sun gives you a brighter light which works as high light. This way you have increased toning.
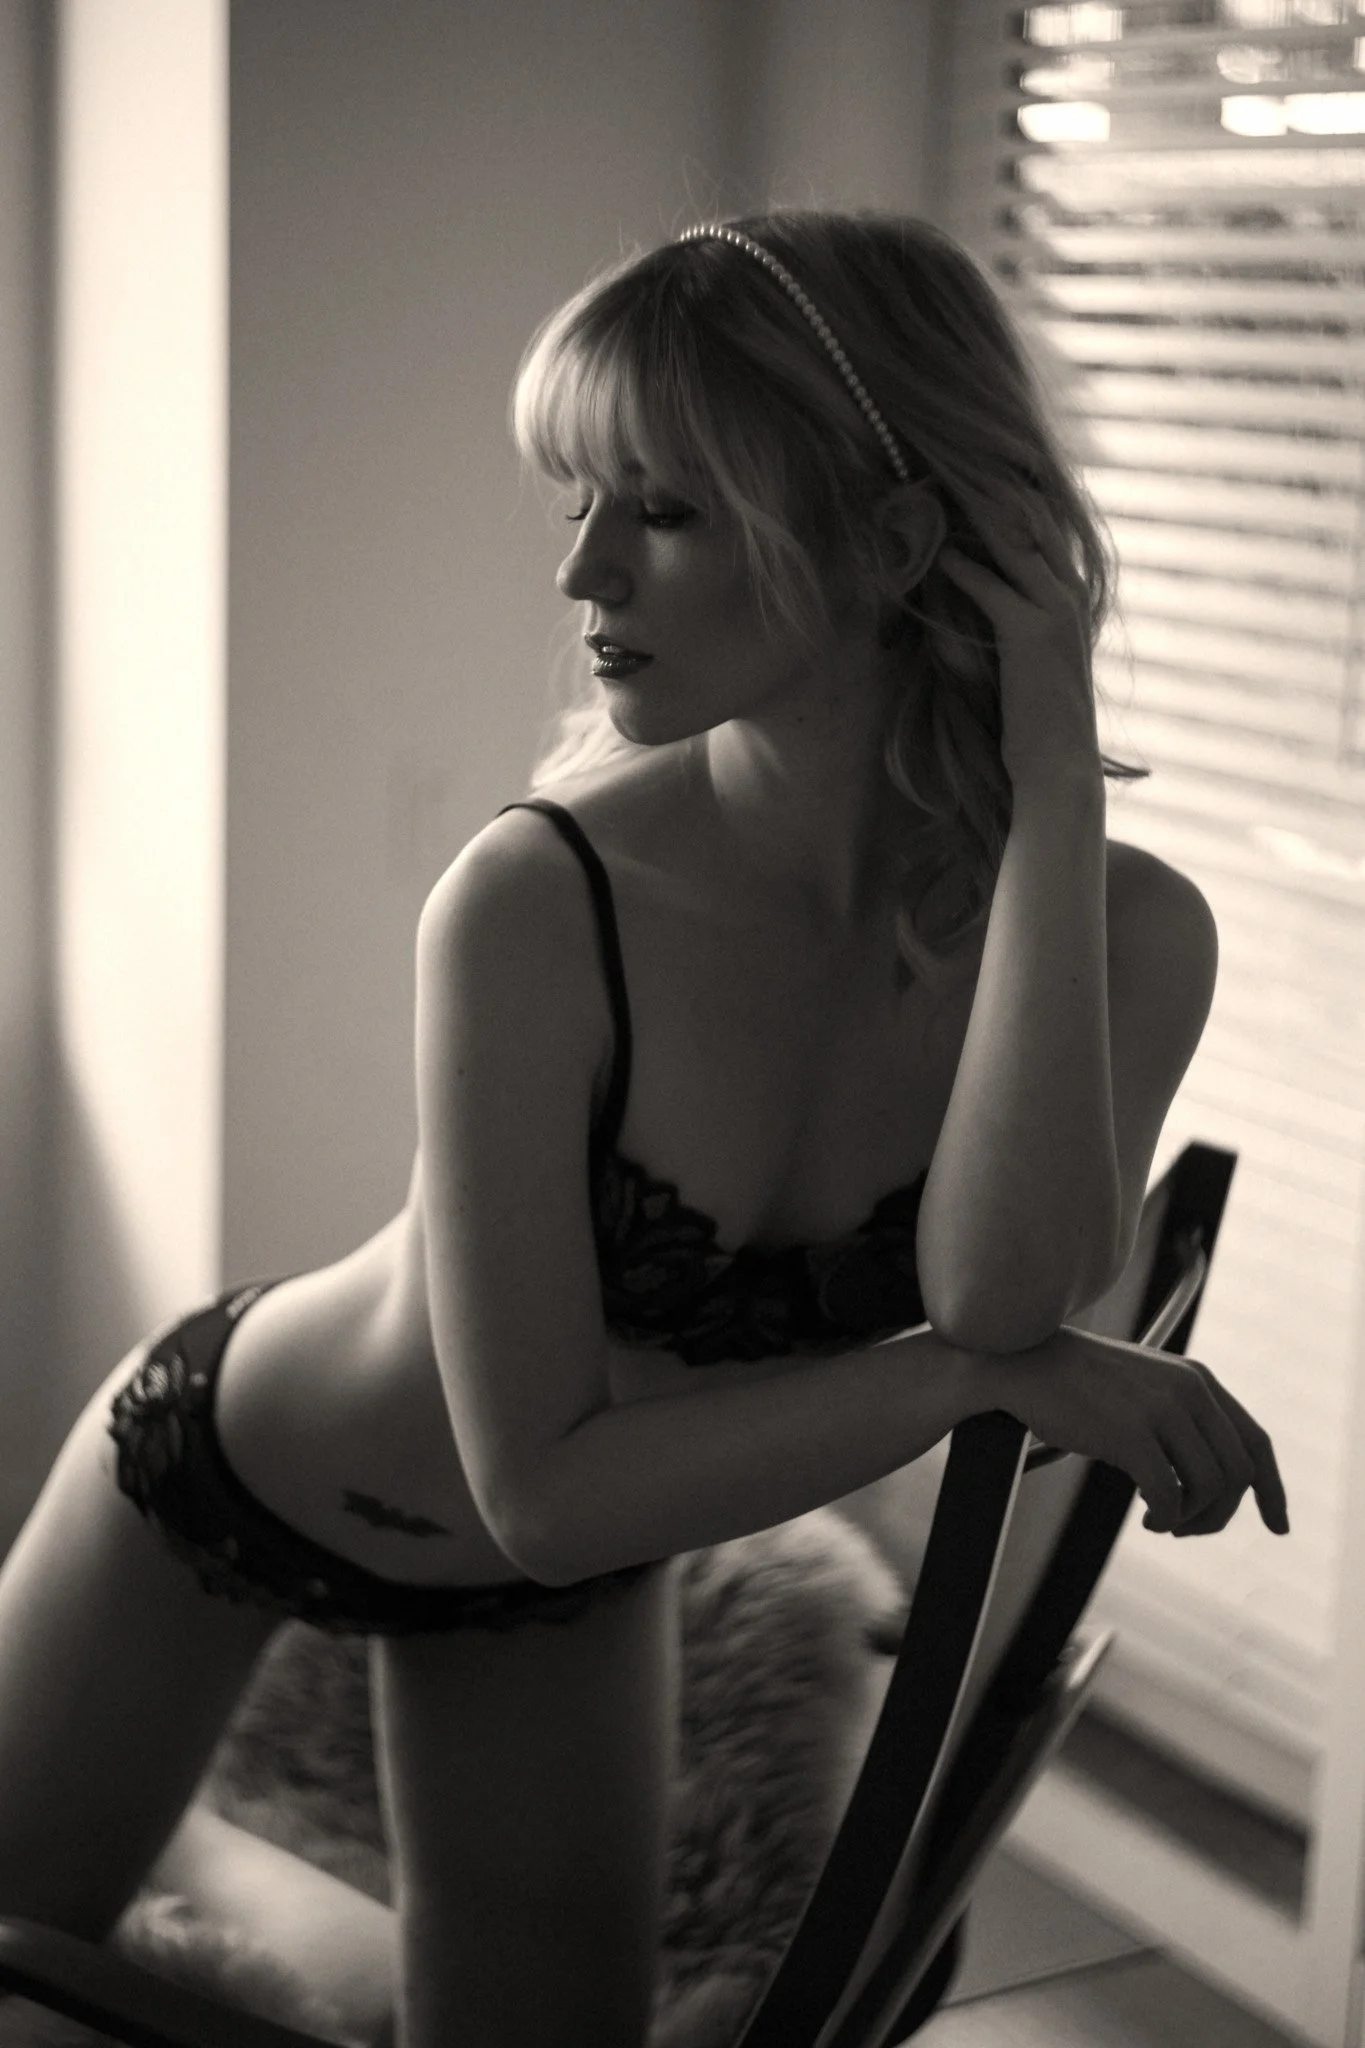
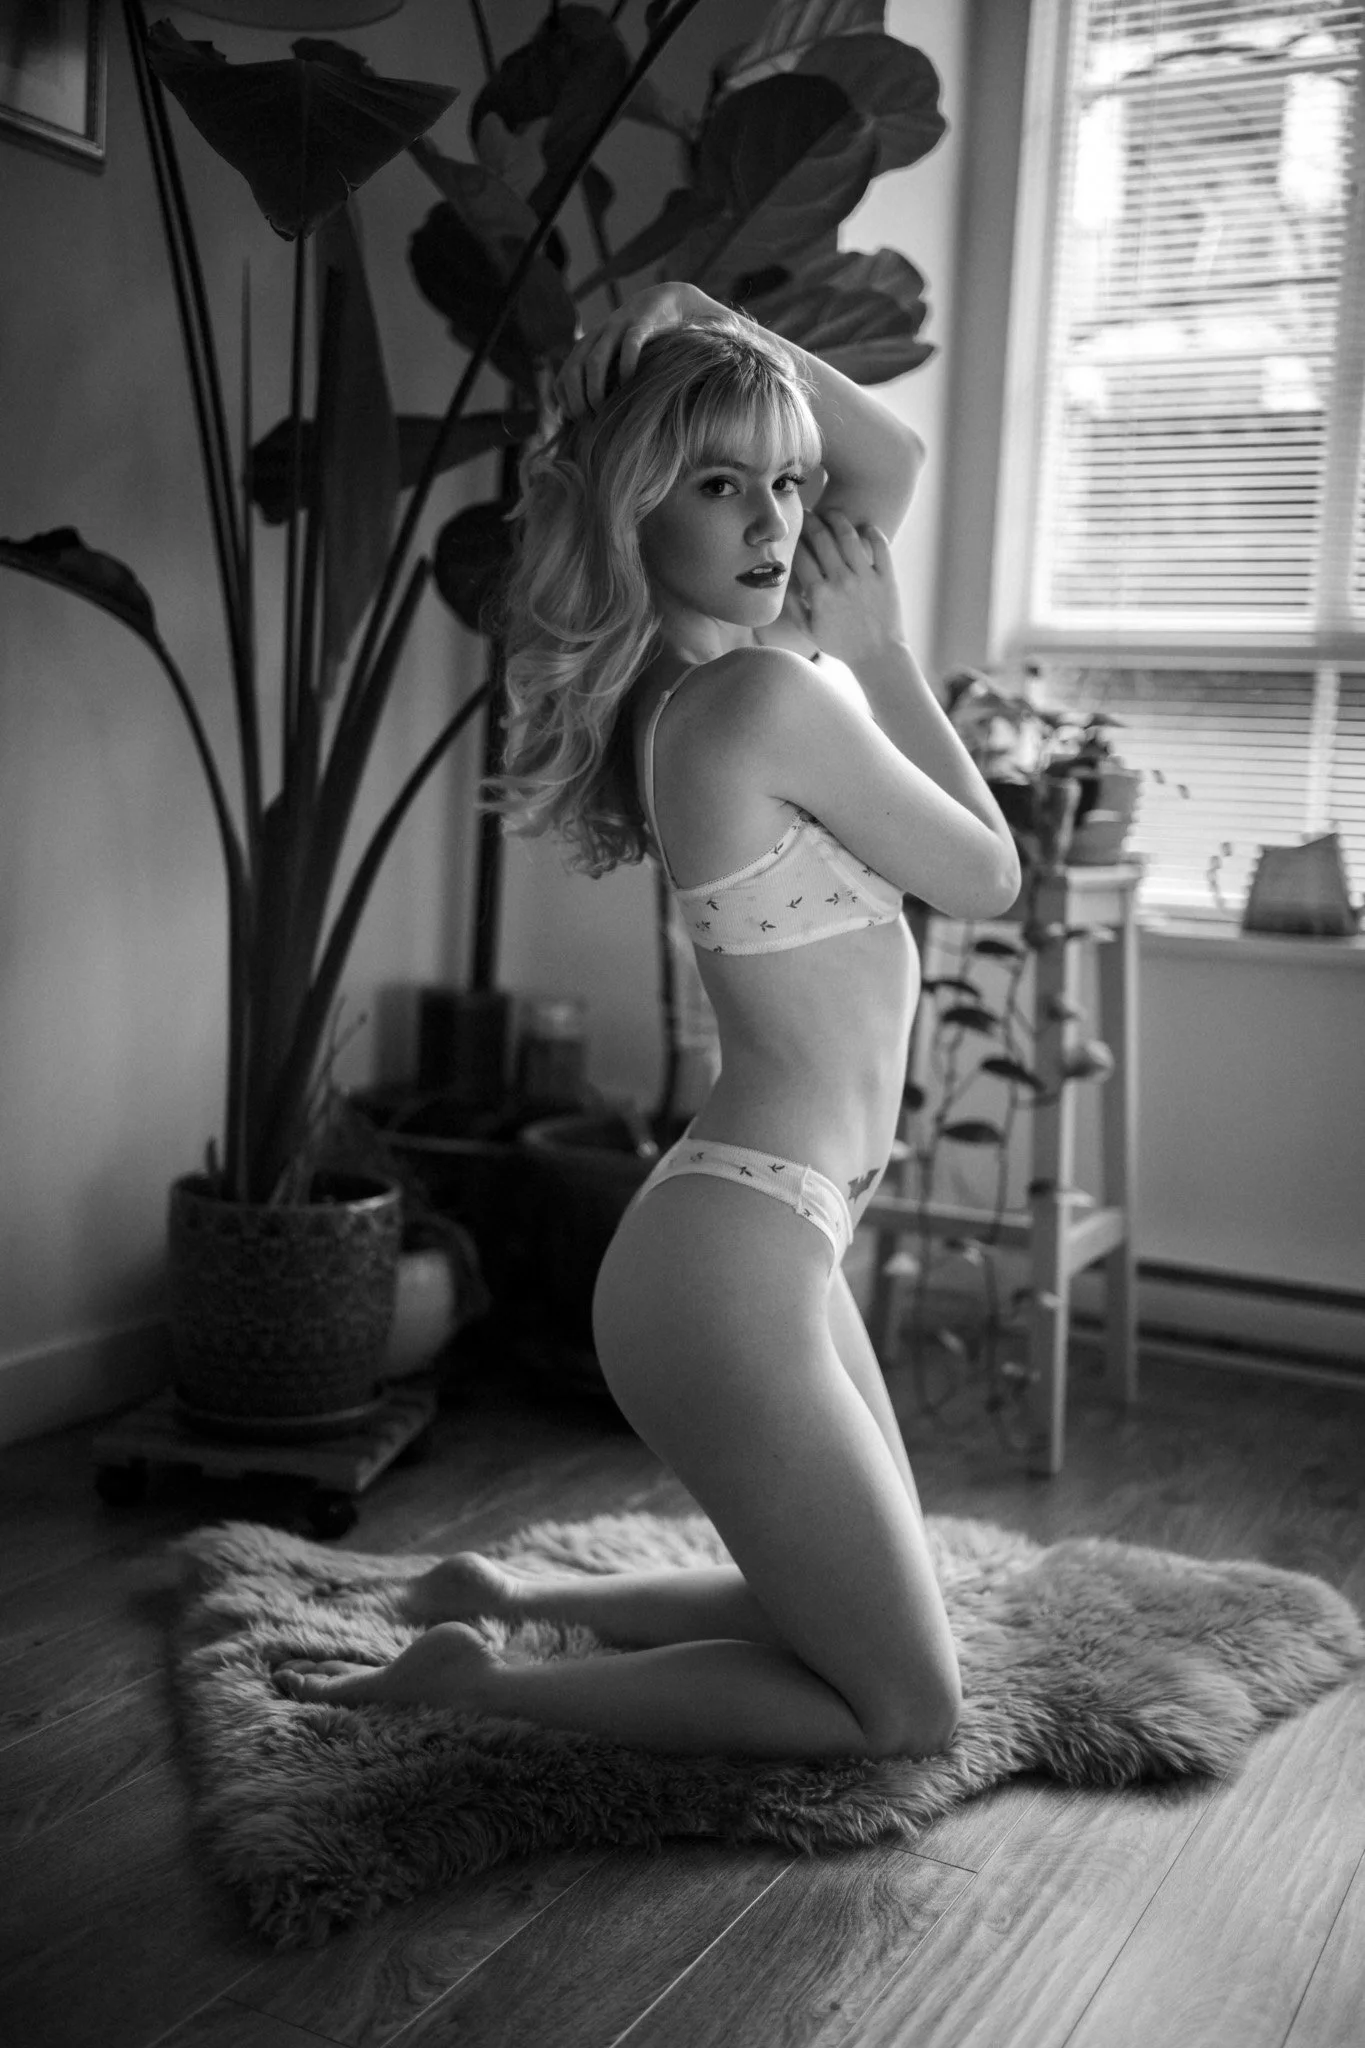
Tip #5: Window Light
Windows are one of the best natural light sources you can use.
And unlike softboxes, you don’t have to worry about keeping them out of your shot.
You can place your subject close to the window without it looking unnatural—because the window is part of the scene.
Even better, the subject and background are being lit by the same light source, so the lighting looks cohesive and natural.
Compare that to using a softbox up close—where your subject may be lit beautifully, but the background drops into darkness.
With window light, you don’t get that problem. There’s a natural falloff, and the light just feels... right.
When using window light creative with your shooting angle. You don't always have to shoot from the side of the window. You can do short lighting. Or even back lighting. Don't just shoot eye level, try some shots from above too. You can actually get a lot of varieties out of a small room.
Also, a powerful camera will be ideal for indoor shoot because of the low light environment requires reliable autofocusing and clean image quality with high ISO.


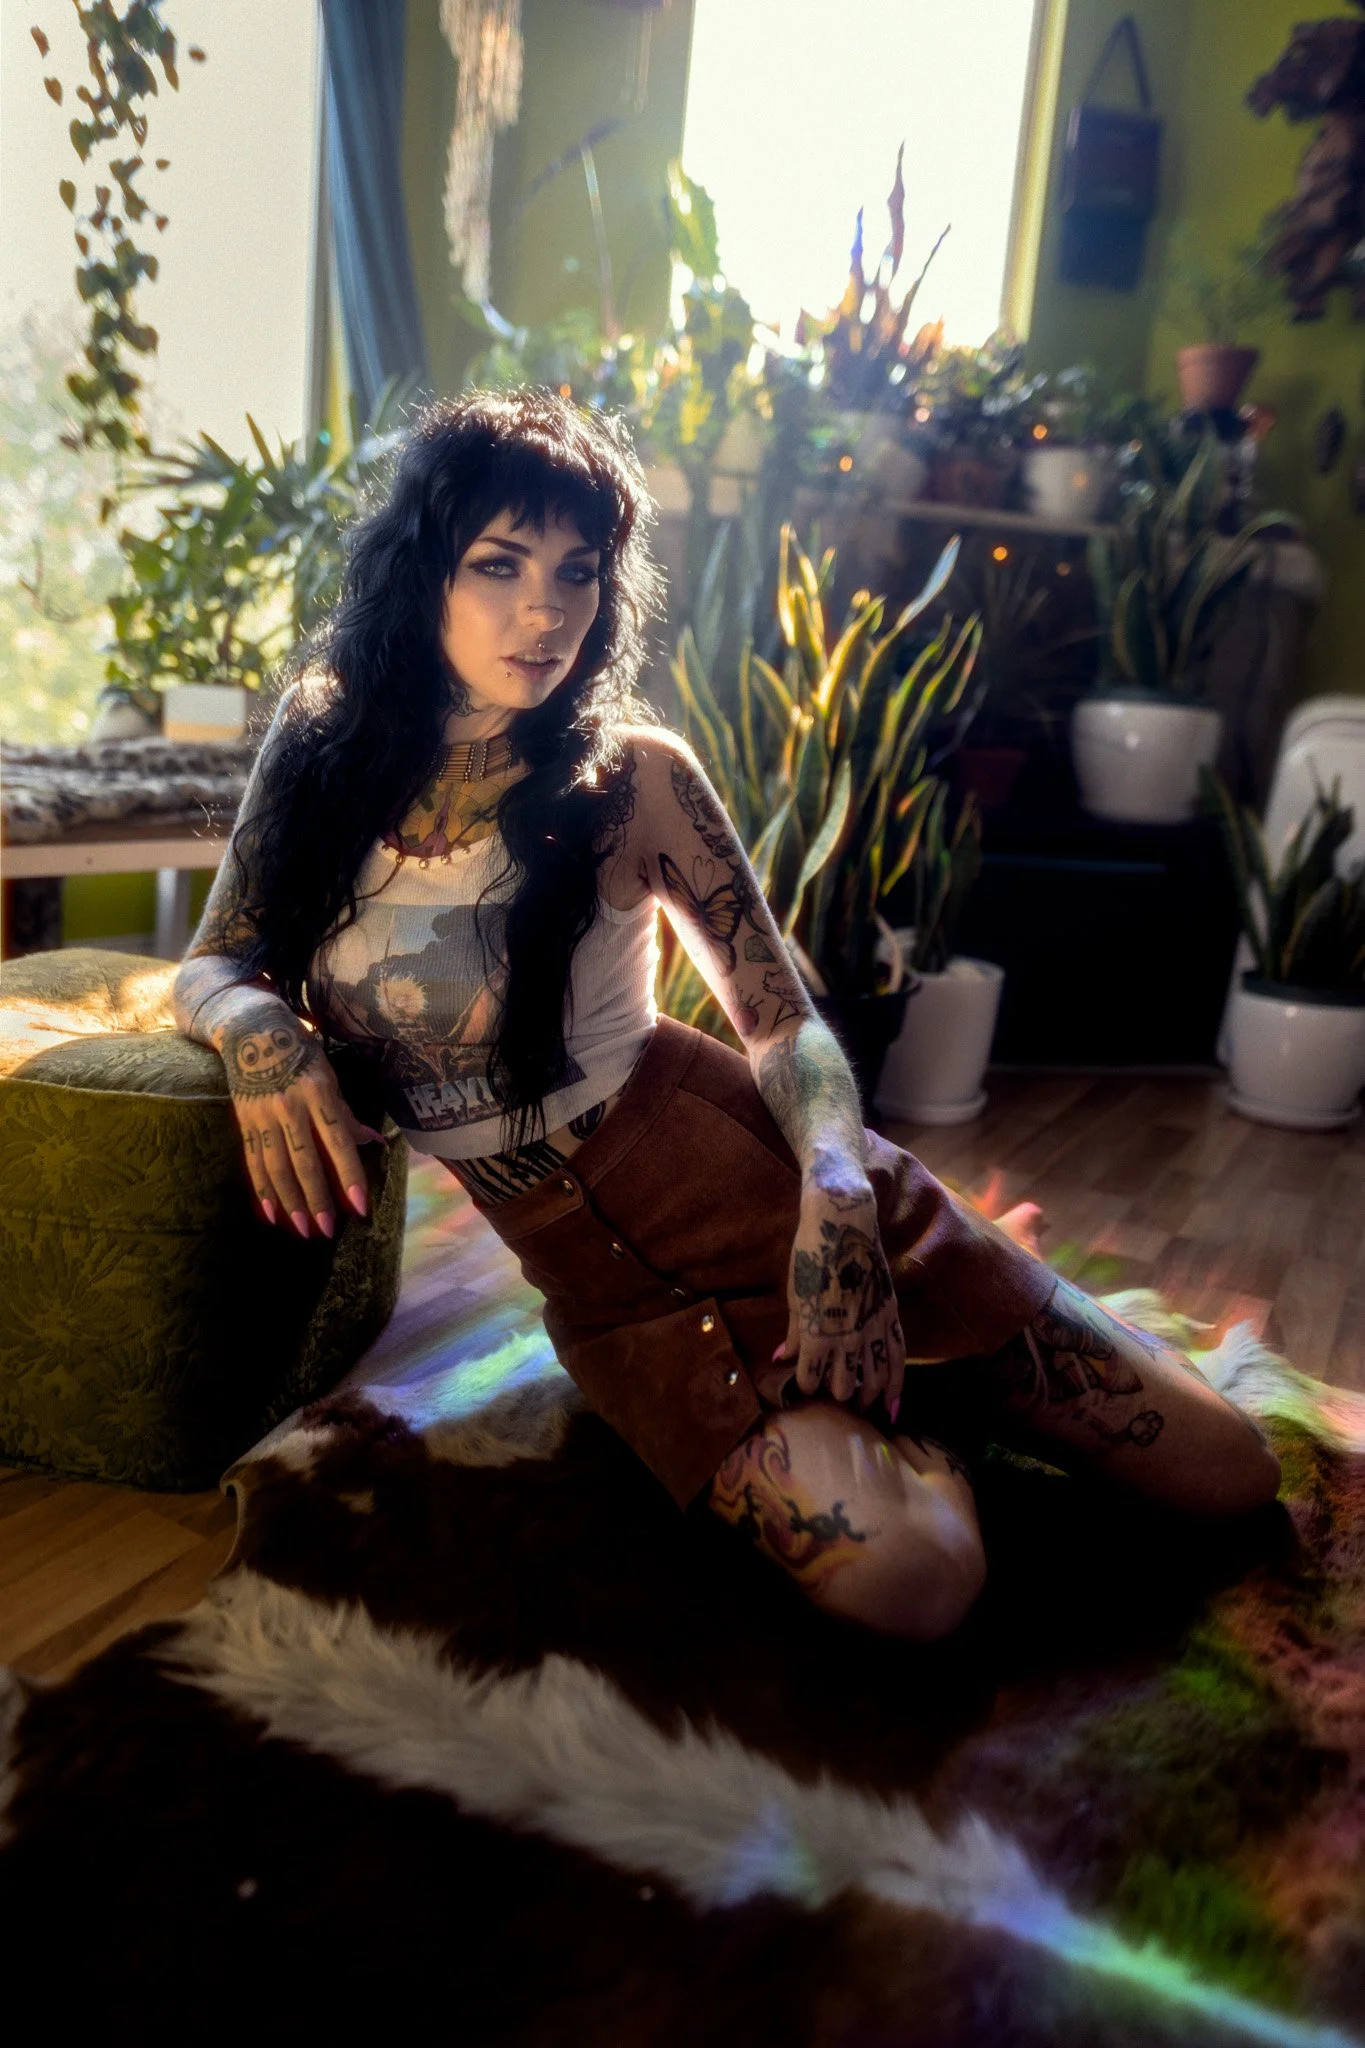
Tip #6: Multiple Windows
When you have multiple windows in the room don't just treat them as one large light source. Find a way so you can use them a multiple light sources. This example, I put the model between 2 windows and let them work as 2 kicker light coming from 2 different angles. This give me a very contrast and moody look. Lots of shadows and complimented by the high light. Just great result.
Then I ask the model to turn to one of the window. Right away the lighting theme changed. One window become the key light and the other become the kicker light. Similar to this studio setup.

Tip #7: Hard Window Light
The light come from the window is not always soft, when the sun shining through the window we got hard light. To deal with that, a reflector can get the job done. When using a reflector indoor, soft light use silver side for the extra punch. Hard light use white side so your bounced light won't be a overkill. Also, a lot easier for people's eyes.

Final Thoughts
Mastering natural light portrait photography starts with one skill: learning to read the light.
Once you understand how light behaves—whether it’s direct sun, shade, reflection, or window light—you’ll be able to adapt to any location and create compelling portraits with ease.
Natural light is free, beautiful, and—when used well—exceptionally powerful.
Ready to level up your portrait work?
Follow me on Instagram @kylecongphoto for more portrait examples, tips, and behind-the-scenes content.
Check out my portrait lighting online course if you want dig deeper into portrait lighting.